Thursday, August 18

Baby Boy Triangle Quilt


Is it just me or is everybody having babies these days! Since all of these babies are so special to me I have been wanting to make quilts for them! Also what better way to practice my quilting skills then to make baby quilts. First you can use super fun colors and patterns. Second, they are small! Since I am still new to quilting, smaller quilts = less time and I like the sound of that!

For this friend of mine I decided to try my hand at a triangle quilt! The quilts look super modern, and if you use the correct "pattern" they can look like it was just a random pattern.

I started with designing my quilt in power point and labeling my pieces.


Picking out the fabric was fun! I wanted some bold colors for this quilt. So I went with grey, blues and greens. I choose orange for the binding. (Going back to my color wheel days, the quilt had more blues so I wanted to use the contrasting color for some more pop!) For the backing I wanted the quilt to be a little more baby-ish so I went with some dinosaur print fabric.


Next was time for cutting. I bought a handy triangle ruler from amazon and cut away. I stacked everything and started sewing. I followed this how to from "See Kate Sew". It was pretty simple to follow and gave me good results.


Ultimately the quilt came out better than expected and I cant wait to see a cute little baby boy all bundled up in it.


Friday, March 13

Getting Back into the Swing of Things

Well it's been a while. Actually 1.5 years to be exact but who's counting... I've wanted to get back into blogging for a while now but with a full time job and wanting to sit on the couch everyday after work i've kinda convinced myself to put it off.

But no more!! My goal is to do at least one post every 2 weeks. I really don't think it should be that hard.

So hear we go! What have I been up to in the last 1.5 years?

1. Home Fixing - David and I bought our first house October 2014, and it has been an adventure! Since we bought the house we have done the following:
  • Removed a tree that fell in our neighbors pool less than 48 hours of owning the house.
  • Replaced all underground plumbing.

  • Replaced both the AC unit and furnace.
  • Created a pass through between our kitchen and dining room.
  • Re-sodded our entire backyard after fixing the plumbing destroyed it. 

  • Various small updates that make the house more modern like painting, and replacing gold fixtures with brushed nickel. 


2. Work - If you don't know I work as a Project Engineer/Cost Analyst for Turner Construction in Houston.

3. Traveling - David and I have been very fortunate to be able to take some fun trips. In June we went to Wisconsin to visit family. In July we went to Hawaii for my best friends wedding. And most recently we went to Nashville for Valentines.


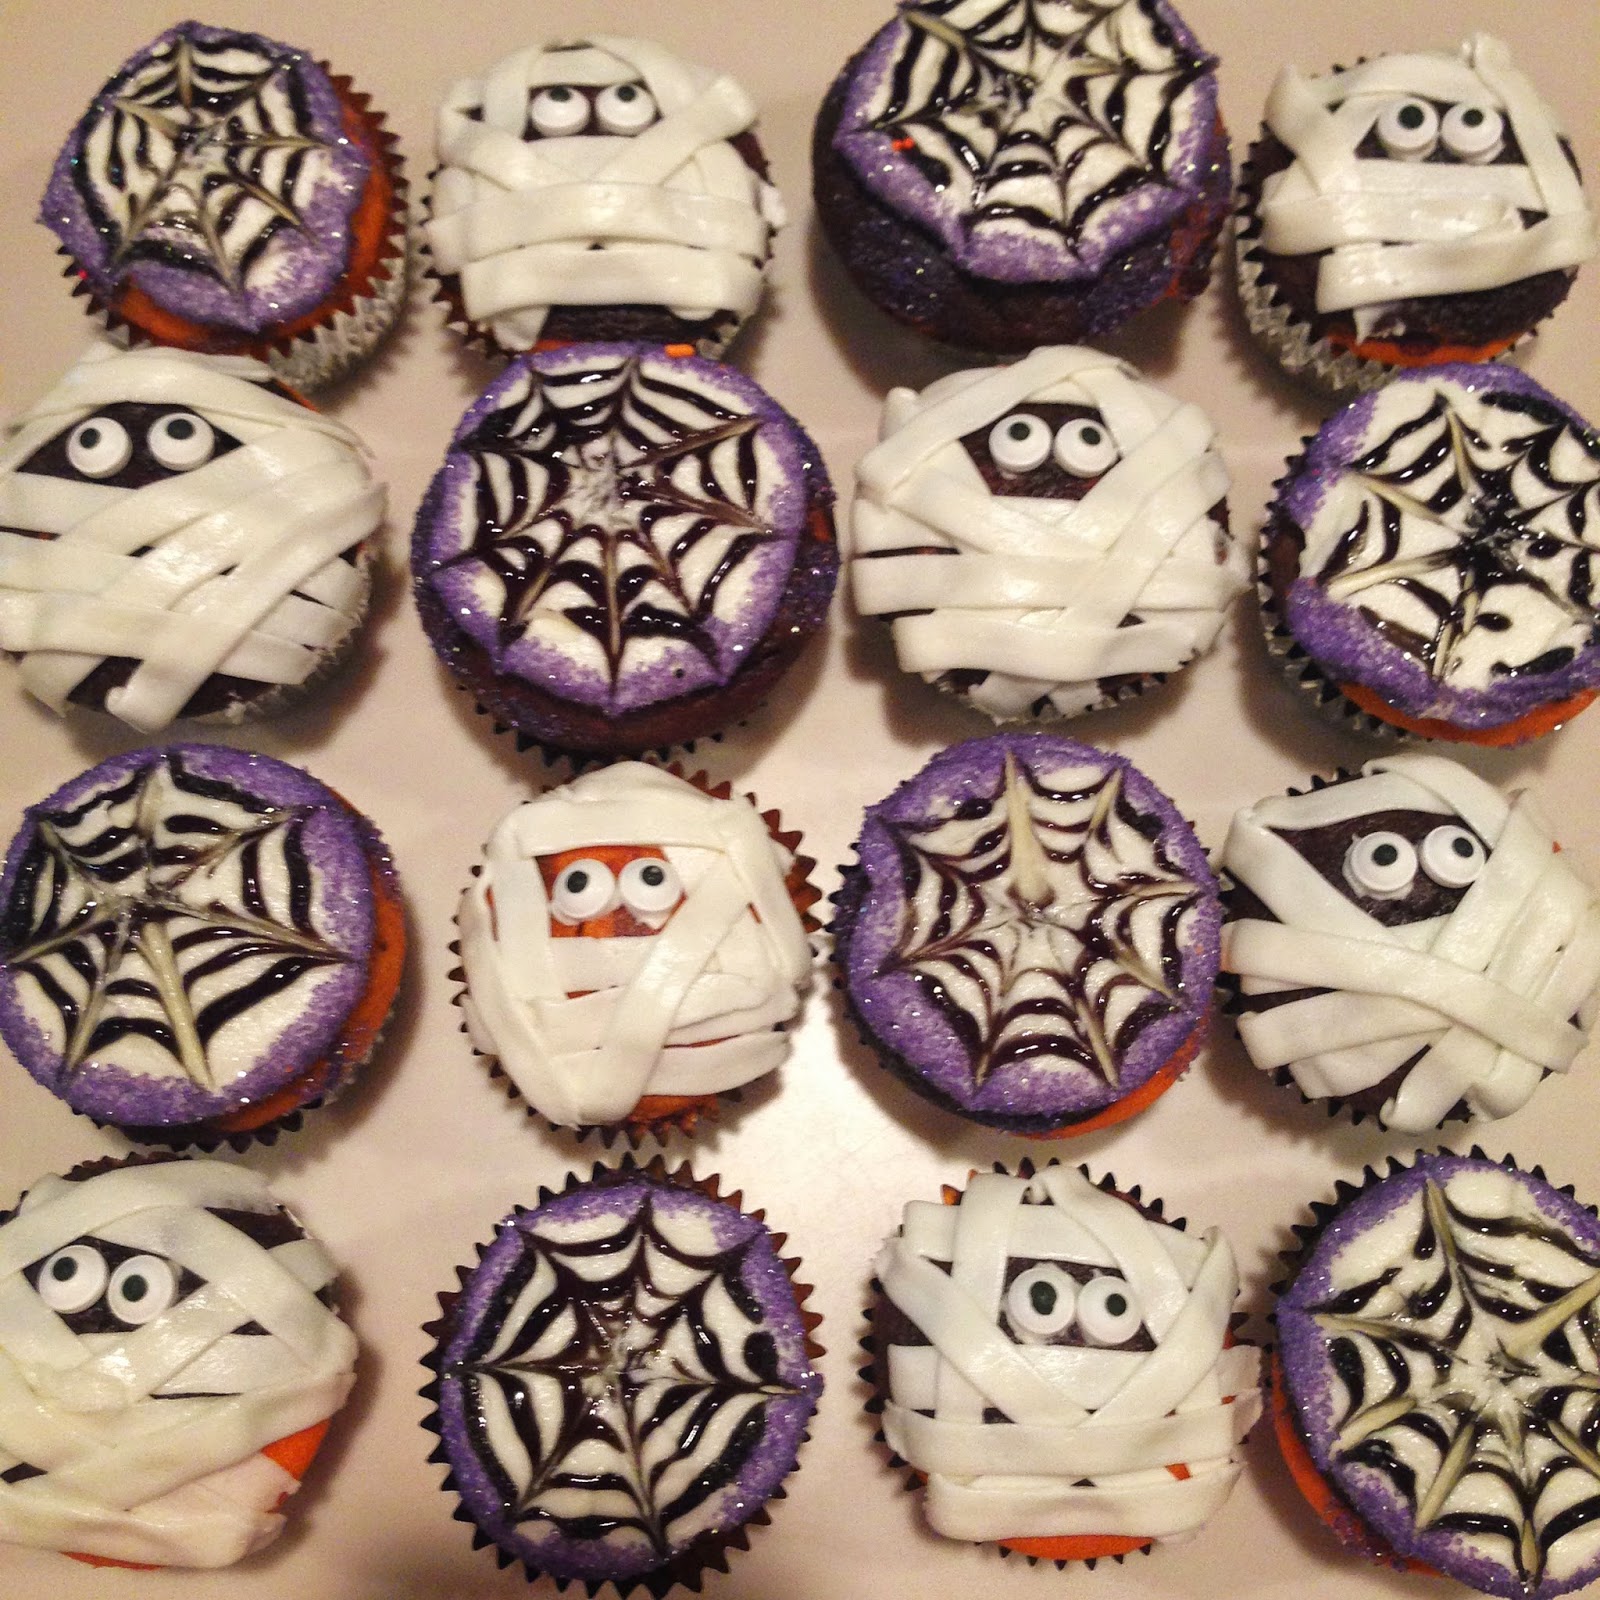
4. And finally Baking! (My absolute favorite thing to do!). I've made cupcakes, cookies, cake balls, cakes, and pies. I started a baking fund at work, so now my husband doesn't have to complain about who is paying for my habit.

4th of July Cake Pops

Halloween Cupcakes

Baby Shower Cake: Blue Ombre Rosette Cake

Copy Cat Girl Scout Caramel Delights

Ok, well that is enough about me. Like I said you should be expecting another post from me in the near future. I promise I won't disappear this time


Wednesday, October 9

Owl and Instgram Winner - Wordless Wednesday

1. This cookie jar is by far the cutest thing I ever saw, I just had to buy it. Honestly I might have cried if my husband told me no. Doesn't he just make you happy.


2. I am so excited to have won a ticket to the Build Your Blog Conference. Who's says you can't win anything on social media. Now I just need to buy some tickets to Utah. Who has airline miles they want to share?

Tuesday, October 1

Race to the Altar: Marathon Themed Engagement Party


My sister-in-law, Sara, and her boyfriend, Joe,  recently got engaged during a trip to Europe. On their first morning in Barcelona he suggested that they go take a run to the beach. As they were dipping their toes in the Mediterranean Sea he bent down on one knee and proposed to her. They are a wonderful couple and I couldn't be happier for the two of them.

As soon as I heard they were engaged I wanted to help throw them a party! As Sara and Joe were runners, and they got engaged while running, what better theme could there be than a Marathon Themed Engagement Party. The two of them were a little hesitant at first but we promised them that we would make it work. 

Our first hurtle was the invite (and yes I am trying to use as much sports lingo as possible). Since the wedding day is our finish line, we decided on making the engagement party the starting line. After a few iterations we decided on this:
Join us as the starting line, 
as we cheer on 
Sara and Joe 
as they race to the altar
Next was the decorations. I asked the couple to send me dates that were important to their relationship. When they first met, when they started dating, their first races together, etc. I then made racing bibs in their wedding colors that said what the dates meant to them.


I also made pom-poms out of dollar store table cloths. I plan on writing a post later on how to make them, so for now you just get pictures.

I stalked them on Facebook and found some fun pictures of them throughout their relationship and updated the picture display from my wedding to match the theme of the party.


We also set up a photo booth were people could write signs that gave words of encouragement to the couple. My favorites were "Plan like you love each other" and "Only 287 days to go"

Finally the dessert! This was my pride and joy!


Everybody had a wonderful time and the theme really set the mood for the party!

Friday, September 6

DIY - Wedding Name Hanger


As many of you have seen on pinterest, etsy and everywhere else on the web, wedding hangers are the new thing. Bride and bridesmaids love to take pictures of there dresses hanging on hanger that has their new last name on it. Well of course I had to be one of those brides too!

I started on Etsy, but with the price of hangers starting at $15 and going up I knew that would be too much of an expense for myself and 5 bridesmaids. That would be over $90 just for hangers!!!

Next, I moved to Pinterest to learn how to make them myself. Unfortunately when I made the hangers for the wedding I didn't document me making them. (That was a busy time in my life...) I went through some trials and errors but they came out beautiful in the end. I packaged them up with my bridesmaid gifts and the girls loved them. Plus they made and adorable picture.


So, when I got a bridal shower invitation the other day I knew i had to make her a hanger, and document it to!

Without further ado. Here is the tutorial:

Supplies:
Wooden Hanger with slits (The wedding dress is really heavy! It will slip off without it.) Pack of 5 for $8.99 at Bed Bath and Beyond
12 gauge wire (found in the jewelry isle at craft stores) $5 to $10 depending on how much you buy
Computer + Printer, Or Good Handwriting
Needle nose pliers
Drill
Super Glue
Painters tape - optional
Pens, Highlighters - optional


Step 1 - Make a stencil
If you have beautiful handwriting (which I don't) draw a straight line the length of a hanger. Write out the name in cursive how you want it to look. If you are not sure how some letters should be desgined, search on Etsy to see how they made the letters.


If you don't have beautiful handwriting, find a cursive font online, type your name and print it out. I settled Clementine Sketch from dafont.com. You can download it for free. I like that this font is "hollow" so you can move your wire inside the letters.

Step 2 - Bend Wire
Once I had my stencil I could start bending. My first few attempts were pretty awful. But once you get a hang of it, it becomes a little easier. Use the stencil to get the general shape of the letters, and feel free to get creative. I made the "dot" after Mrs a heart.


Tips while Bending:
1. If your needle nose pliers has grooves it will imprint on the wire. Use painters tape to cover the grooves.
2. Start with about 3-5 inches un-touched. If your name comes out shorter or longer than you wanted it to, you will still be able to center it on the hanger.
3. For round letters use pens or highlighters to bend the wire around. This will give it a smooth look.


Step 3 - Attach to Hanger.
Using a pen measure about one inch from the bottom of the hanger and make a dot. Repeat on both sides. This will usure that when you drill the hole the wire name will be level.


Using a drill with a small drill bit, drill a hole at a 45 degree angle to the hanger. You want the name to be able to slip in at a straigt line.


Once the holes are drilled, use a scrap piece of wire to "test" the holes. You don't want to mess with the wire name to much. If the wire fits you are good, of not drill the hole a littler bigger.

Next lay the wire name ceter on the hanger and cut the extra ends of.


 Insert both sides of the wire name into the hanger and viola!! you have a beautiful hanger! If the name is a little loose add a small dab of super glue into the holes. That will keep the name from tipping over.

Step 4 - Admire
See how simple that was! Now if you want, you can add bows or ribbon to the hanger to add a little extra touch.


Monday, August 19

60th Wedding Anniversay Cake


What a wonderful life 60 years together can hold! This past weekend I got to celebrate David's grandparents 60th wedding anniversary! Can you imagine 60 years? The two of them have so much love for each other it amazing.

 When I got asked to make the cake for them I knew I had to make something as special as them! Since the 60th anniversary is the diamond anniversary I wanted to make the cake in white and silver, since diamonds were a little expensive to put on a cake.

 I made a vanilla cake with cream cheese butter cream. The cake is covered in white fondant. Sorry I didn't take any pictures up to this point.


My first attempt at quilting fondant. I used a fondant impression mat to make the quilt pattern. It didn't show up very well so I went over it with a straight knife.


Next I placed the gum-paste flowers my friend Lauren and I made. That was a process and unfortunately I did not take any pictures. I think i watched about 10 you tube videos on how to make them. I think there is still powdered sugar on my phone from that day!


Adding the silver pearl sprinkles to the cake. I used a small amount of butter cream icing as the glue to keep them from falling off.


The finished product! I made the cake topper out of cardboard and glitter. I cut the numbers out of the cardboard and then attached toothpicks to they would stand. I then covered the numbers in Elmer's glue (but I guess you could use mod-podge). I sprinkled glitter over the glue them let them dry. I then applied two more coats of glue so the glitter wouldn't fall into the cake.


The happy couple! 60 wonderful years together!


Happy 60th Wedding Anniversary!


Related Posts Plugin for WordPress, Blogger...